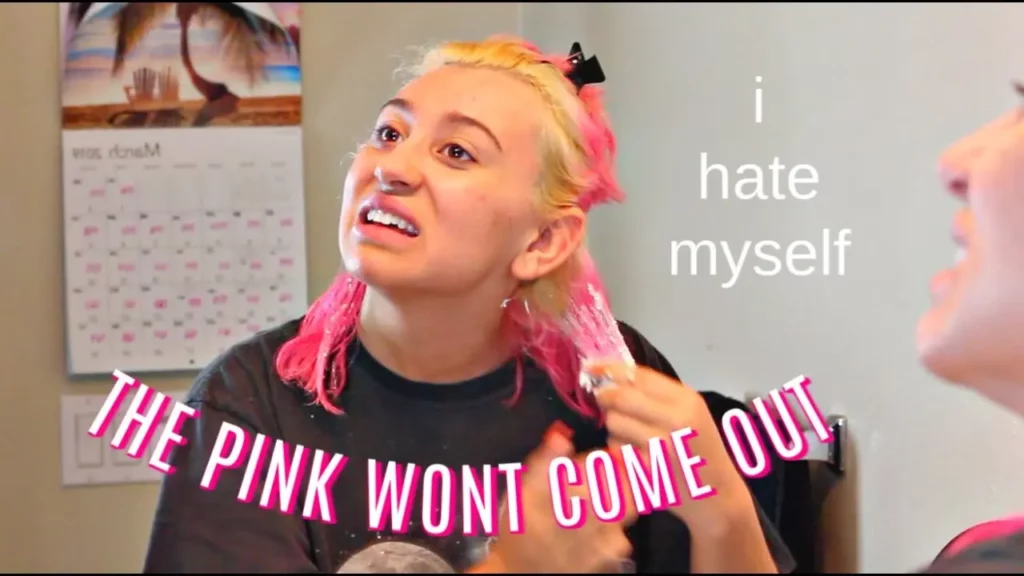
Bleached hair turned pink? (Here’s How to Fix)
How to fix bleached hair that turned pink? The pink color tone can be difficult to get rid of. In this article, I will explain how to remove the pink color tone in your hair with step-by-step instructions.
So before we get started, let’s stop and think Do you have any trouble with the previous pink being around? Have you tried bleaching but without success?
If that’s the case, it’s possible that the bleaching didn’t work because fuchsia, purple, and other fantasy colors are very stubborn and difficult to remove.
The problem with bleaching your hair is that it’s also necessary to go through a lot more steps in order to remove the dye.
You might be wondering, “Why is it important to get rid of bleached hair turned pink?” In this article, I’ll explain step-by-step instructions on how to make sure you don’t face that problem again.
How to get rid of bleached hair turned pink in 4 easy steps
The process of removing pink dye is a lengthy one that may take patience.
It takes four steps:
- Wash your hair with clarifying shampoo
- Bleach your hair
- Apply a green toner
- Wash your hair with green shampoo
Before taking the step-by-step instructions, it may be helpful to know that the materials you will need are:
WHAT MATERIALS WILL YOU NEED TO REMOVE PINK HAIR DYE?
You tried using your normal methods for removing pink hair color, and now it’s not working. You should try a different approach and remove the hair color with a longer wait time
Here are all the things you need to do so.
Clarifying Shampoo
Use clarifying shampoo, not lightening shampoo.
Clarifying shampoos remove dyes that build-up on the hair, which can leave artificial colors behind.
Shampoos with a lightening effect help to remove color deposits in hair, whether they are natural or artificial.
As you can imagine, if bleach doesn’t remove the color, lightening shampoo won’t do either
Walk into a salon or pharmacy and ask for clarifying shampoo.
Hair bleach:
If you’re using a clarifying shampoo to get rid of the pink, it may not fully remove some of it. However, you can use bleach to complete the job.
To bleach or lighten your hair, you can use a home-use 30 vol developer kit that includes hair bleach and a bleaching powder.
With the ingredients in this shampoo, you will be able to re-cleanse your hair by following a simple process.
And hopefully this process will remove any recurring pink pigment on your hair easily and without complications
Green Toner and Green Toning Shampoo:
Toners provide a solution to over bleaching hair and neutralize the light tones. This makes for a healthier appearance and can have positive effects on your hair.
Once you’ve bleached your hair, the toner neutralizes any remaining traces of discoloration.
Each color has a slightly different hue that contains its complementary color. which in this case is pink.
After applying the toner, you’ll have a dark blondish-brown base color. The pink tone will be gone long before you know it!
In order to use the green toner, you’ll need the container of green toner and 20 volume developer.
Not only do you want to keep your tone looking fresh, but for the best results, it’s good to wash your hair with green shampoo.
As I mentioned earlier, green tones neutralize red tones.
While your goal is to remove pink color tone from your hair, the green toner and shampoo will cancel out what pink tones are left after the green toner.
Many salons and hair stylists offer services that can help with your natural hair, styling, & colouring. They also offer advice on any matters of concern for you.
STEP BY STEP INSTRUCTIONS TO REMOVING PINK TONES IN BLEACHED HAIR
As I said at the outset, the process of bleaching hair is a long one.
No, it’s not quick or easy, especially if you’re new to bleaching your hair. It takes several steps to get started.
Don’t forget any materials you might need as you don’t want to run out of them during the process.
Finally, take a day off for hair care and pampering is just what you need.
When you have access to the materials you need to start, then it is time to get started.
STEP 1: APPLY THE CLARIFYING SHAMPOO
Wet your hair, and then cleanse with a clarifying shampoo
Let it sit for 5-10 minutes before rinsing off
This shampoo does not smell like flowers, so please don’t use it in the shower.
Rinse your hair and make sure the pink tone is really gone.
If there’s no pink left you could use a toner or hair dye instead.
If you still have some pink in your hair after using a clarifying shampoo, you may want to wash it again with the same or something similar.
Clarifying shampoo won’t damage your hair and you can use it as needed to remove any pink tone from your hair.
While clarifying shampoos may help reduce the color in your hair, it is possible that your strands may still look a little pink.
However, don’t give up! There are still a few more steps to go ahead of you.
STEP 2: BLEACH
After washing your hair, it’s important to dry it thoroughly. Once you’re satisfied with the level of dryness, you can now apply the bleaching mixture on your roots.
Combine the bleaching powder and developer together in a plastic container until you create a homogenous, creamy mixture
Start applying the mixture to your hair ends, then the middle section, and lastly to your roots.
Are you curious why?
If you dyed your hair more than two times, there is a higher concentration of pigment in the ends and middle sections due to more treatments on those particular sections. The roots are new, untreated growth
Once you apply it, let it sit for 10-20 minutes
Please don’t leave the bleach on your hair for too long! Bleach is a chemical process that permanently damages hair and doesn’t always give good results.
After a certain period of time 5 mins, you should check your hair before washing it. Some people prefer to wait twenty minutes after they’ve completed this task.
Please don’t leave the bleach on longer than that even if there are still some traces of pink in your hair. If you notice that your hair is still pink after this time, you can re-bleach it.
I hope you’re careful with using bleaches and other hair dyes because they are really strong chemicals that can do a lot of damage.
As you can see, your pink is almost completely neutralized. I recommend moving on to the next steps.
STEP 3: APPLY GREEN TONER
You might notice that the pink is gone soon after you dry your hair
After you have completely dry your hair, mix the green toner and 20 volume developer in a container
Begin applying the product, beginning with the end & working your way towards the middle, roots
I recommend starting at your hair’s ends to avoid unwanted pink from showing up where you don’t want it. My recommendation: bleach from the ends to the roots
Please be careful when using toner and do not apply it then forgot you have it in. Toner starts to work immediately, and if you leave it on too long, it will turn your hair green.
Most of the time, we all forget to fully remove this product from our hair. Don’t leave it on your head for more than ten minutes before rinsing with water.
You will notice the difference in the tone from when you use the toner in your hair. After just one use, all traces of pink are gone.
You can use your regular shampoo and conditioner after toner process.
Dry your hair and style as usual.
STEP 4: MAINTENANCE
Shades of red, pink, purple & fuchsia are very tenacious and can always break through afterwork. This is what toning shampoo is for!
It’s pretty straightforward to use: just change your regular shampoo with a toning shampoo.
Use it regularly to maintain healthy hair.
Apply the shampoo gently and let it sit on the hair for five minutes. Then rinse with water to close your pores.
You should have no problem using toning shampoo, as you can use it in the shower. Clarifying shampoo is for helping hair appear more lustrous & bouncy.
After a few applications, the pink will go away
CONCLUSION
After this process, leaving your hair the ash-blonde left by the green toner and toning shampoo doesn’t require any extra hydrolysis or treatment.
After all, please don’t forget to apply a moisturizer or try a mask like coconut or argan oil. If you have dry scalp, you may use split-end repair treatments like keratin oil or shea butter.




Comments are closed.