How To Do Senegalese Twist For Beginners

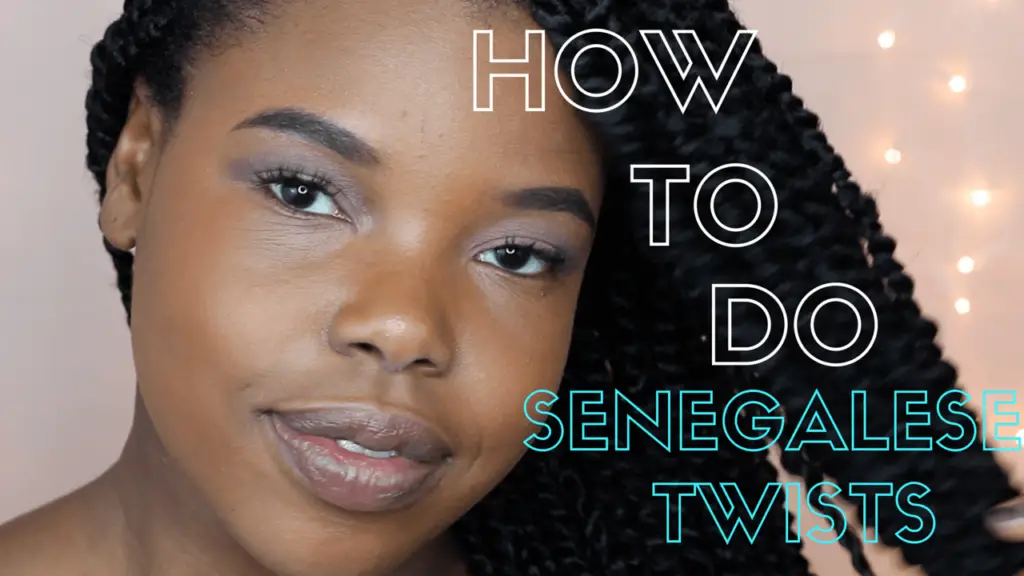
Hello ladies today I’m going to do a tutorial on How To Do Senegalese Twist For Beginners on this beautiful client and friend of mine we’re going to be using Schick Silk Effects and some X-pression Ultra Braid 6 pack 1B for those of you who are on a natural hair journey you will love this hairstyle.
I just wanted to jump right into the tutorial on how to do Senegalese Twist For Beginners this is the back of my clients hair and I wanted to show you guys because a lot of times girls will be getting braids or twists and their hair will be really like short and kind of broken off in the back and it makes it really difficult to work with.
Video Tutorial
How To Do Senegalese Twist For Beginners – Step By Step
- I tried to convince this client to shave it but she disagreed so I wanted to show you guys how I went about doing this style on her hair despite the fact that this back was broken off so then start by separating the hair I did cut the braids in half and I’m mixing the colors right now so that’s what you’re seeing me do next I’m going to show you guys how I stretch the hair this is about the amount that I’ve pulled out to get the size twist that you saw you’re just going to have to really feel for the proper amount but hopefully the visual I give you is an example when you’re stretching the hair is really really really important
- this is one of the most important parts to doing senegalese twist you have to really make sure that the ends are afraid and that the ends are very very thinned out that’s super important to making sure that when you do the twist they stay in so I want to stress that so yeah I’m going to use the Von Teese silk effects to lay down her hair and we’re just going to jump right in now I want to show you guys like in the back if someone has really really really short hair i usually braid the hair and first i then twist it down you can twist it in first it’s not that you can’t it’s just that very likely that loose end is going to fall out braiding it
- in first allows you to grip that synthetic hair onto their natural hair a lot more tightly so I highly recommend that when you’re dealing with short pieces of hair and I want to show you guys this up close to show how I transition from the braid to the twists you’ve probably seen this on a ton of other videos I just want to show you guys how I do it in case it helped so I break down a few times and then I go in and I just separate that middle strand of hair into tooth and I go in and I add more hair in the reason why I started out with a smaller amount of hair is because I’madding this synthetic hair to a small piece of her natural
- hair and if I go in with a large chunk of braiding hair then that’s also going to cause the braces to about now later on in the style you’ll see that I don’t do this because you don’t have to do this throughout the entire head but definitely around those edges when you’re dealing with smaller amounts of your clients hair so once you go in and add that hair and you’re going to just twist it all to one direction so for me I’m making my twists the individual strands of the twists are going to the right but I’m going to pull the twists together to the left and that’s how you get a senegalese twist you make sure that each individual strand is being individually twisted in one direction and then wrap around each other in the opposite direction
- and that’s how you get it to hold I’m going to slow it down for you right now so that you can see that I am constantly twisting each individual strand to the right and then bringing them together to the left you develop a motion for this a muscle memory for this it’s really hard to do at first if you’re new to this don’t give up because you will catch on you’ll get your own little group to how you doit but eventually you’ll be able to move really fast so once you get to the end sometimes especially when you start off as a braid and then and then switch to the twist sometimes you’ll see that one side of the twist has more hair than the other side at that point you just need to borrow hair try to wait till you get all the way to the ends of your hair though because if you move a little bit of hair over from one side to the other too high up in the twist
- you’ll be able to notice it and it looks really ugly so try to wait till you get as low as you can before you do that and this is an example of me twisting all the way to the end you want to twist all the way to be in if you’re maintaining a twist don’t leave any hair out at the bottom that’s another way that you can get that twist to unravel okay so I’ll show you a close-up on how that looks from start to finish and this is an example of a twist where I’ve graded your hair in first and twisted it all the way down I’m going togo through and I’m actually doing like against acorn Park circular around without acorn Park throughout her head
- I just wanted to show you guys that another thing to keep in mind will have done what I do with my clients is I tend to make all of the parts around the edges when I’m doing braids or twists I make all of the parts around the edges smaller than the part in the middle of the head that’s my rule of thumb becauseI don’t want the clients to have too much hair in their head because I’m making all of the parts small and I also don’t want to make all of the parts big because usually twists and braids just look better when they’re smaller part sit looks more naturalI want to show you guys an example of what it’s like for me to actually twist the hair in you’re going to separate the clients hair into two strands and then you’re just going to push that hair in the middle
- of this and start twisting each individual strand one direction for me is to the right making sure that you grip that hair really tightly and you push it really close to the clients scalp when you are individually twisting each strand like you don’t want to lose your tight grip on this part very very important because yes you want the hair to look like it’s growing out of the scalp you want it to look natural but you want it to be as tight as possible when they leave your chair so that they have room for growth and that’s how I doit and you like I said you’re going to get better at this as you practice just continue to try over and over again
- because it was really hard for me to catch on to it at first catching on not just to the motion and the direction but also the tightness and the grip it’s incredibly important that you maintain a firm grip throughout every single part of this twist because that’s how you’re going to maintain that neatness I see so many times when girls do twists and it just looks so loose and so raggedy and I think it has a lot todo with how much attention to detail they’re giving to that twist from start to finish I want to show you an example of when you finish the twist off with a braid some people prefer this method
- and add is actually foolproof in my opinion it’s a very safe way to end your twist first if you wait all the way to the end to that really really skinny part of the twist you can just brave that out at the end a braid a three strand braid pins to hold stronger tighter than a two strand twist so if you don’t want to worry about those two it’s possibly unraveling then you can do this method long as you wait until the tail end of the braid when you’re not going to be able to notice visibly so I’m just moving through her head likeI said and rounded out a corn part no real like pattern I don’t really want it to look boxed out like box braids I want it to just flow this in the middle of our hands like I said I do the parts quite large in the middle but don’t worry because they’re all going to be covered up
- I don’t want to put too much hair in the clients headI think we used about seven packs for this entire style and I really didn’t want to use eight or nine because it tends to get heavy so when I get to the sides the edges and the frontI do the part smaller and the ends are going to be able to see the gradual change in sizes you want to make sure that the size change is gradual and it doesn’t just go from like really huge to really small now I want to show you guys that sometimes it gives us a nice treat you know sometimes I really have to stand on a chair to get my positioning right so that I can be above the client because when you’re braiding hair init’s different than when you’re twisting here in by me twisting their parents or head I have to have a certain position
- I have to be like on top of her so don’t be too proud to grab a chair and get on top of that client’s head the opportunity to do positioning is everything and I want to make sure that each individual twist is as tightly gripped to her hair as possible and this is what it looks like when I just have that little top portionless I was so happy to almost be finished y’all but like I said the gradual change in size that’s just whatI wanted to show you guys right there and when you get to the front you may have to ask your client to hold that braid or that twist close to the scalp so that you’re not pulling too tightly and this is what it looks like in the ends
- like I said the parts in the front I did them quite small and this is the size that everyone’s gonna assume her braids are unless they’ve stick all throughout her head which is not going to happen so now I want to show you guys going through this part suck you think you’re done and you have to go through with each individual twist and trim off the hair because I cut the braid in half and stretched it there was a lot of frizz sticking out of each twist and that’s so ugly yes when you dip the hair you get rid of some of that but I like to go in and do almost each individual twist and just trim that
- because it’s going to make a big difference in the end I went ahead and wraps the bottom of her hair with perm rock because she really wanted to enclose at the end not typically I don’t do that most women with twists I do who’s gonna grease which I do they don’t want to be close at the end but because this is what she wanted I wanted to show you guys you definitely want to different here whether you’re keeping it straight or you’re curling it make sure that the water is boiling hot and you have a towel on so you get that hair and you let it sit inside the water for a few seconds
- pull it out all that good stuff if you guys want a separate video specifically on how to dip hair thumbs this video up and let me know in the comments below and this is the finished product let me know if you have any questions about how to install senegalese twists below let me know if you want me to do another video and blog post with maybe a different size or different hair type whatever you gotta say just let me know in the comments below thank you so much for liking and sharing it on your social media and for subscribing to my website god bless you guys and I’ll see you in the next post


Comments are closed.